Troubleshooting
Built-In Ice Maker Not Making Ice: Where to Start
Work it in the order that eliminates whole categories: freezer temperature first, then water supply, then the ice maker itself. Cross-brand diagnostics.
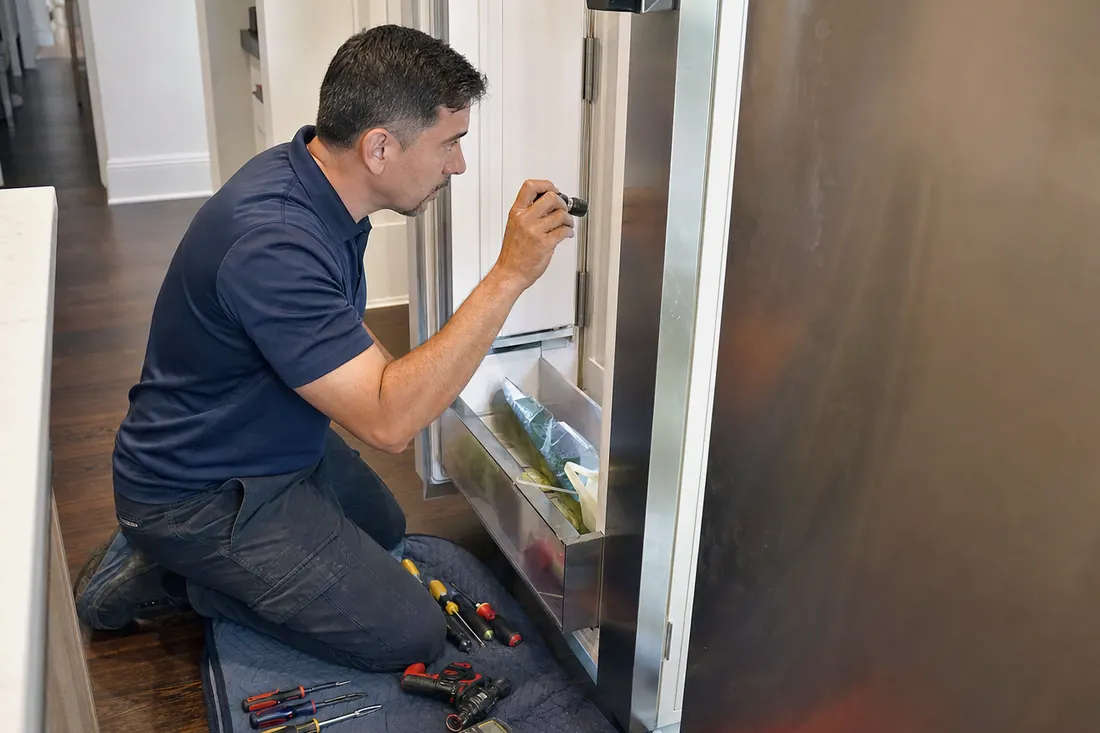
Anyone can do this
No tools, no disassembly, and nothing that can void a warranty.
Covers these symptoms
- not making ice
- ice maker stopped working
- only a few cubes a day
- cubes are small or hollow
- ice smells or tastes bad
- ice maker frozen into a block
- no ice after a power outage
What you need
- Probe or appliance thermometer
- Flashlight
- Towel
- Bucket or measuring jug
- Vacuum with a brush attachment
Diagnose in the order that eliminates the most
An ice maker sits at the end of a chain: cold, then water, then mechanism. Every link has to work, and the links fail in very different proportions. Working the chain in order is what separates a twenty-minute fix from a replaced assembly that was never the problem.
The order is not arbitrary. It is:
- Temperature. If the compartment is not cold enough, nothing downstream matters and the ice maker is not the fault.
- Water. If water is not arriving in the right volume, the mechanism is working perfectly and producing nothing.
- Mechanism. Only once the first two are proven.
Most people start at three, because that is the part they can see.
Stage one: temperature
Put a thermometer in there. Not the display - a thermometer.
Ice makers built into a freezer compartment need that compartment at or below roughly 5 degrees F, and the normal setpoint across built-in refrigeration is 0 degrees F. Above 5, harvest cycles simply stop. Between 0 and 5 you are on the margin and production will be slow and inconsistent.
Here is why this matters more than any other single check: a freezer that has drifted from 0 to 9 degrees F will still keep everything in it frozen solid. Nobody notices. Meat is hard, ice cream is firm, the display says what it always said. The only visible symptom is an empty ice bin. The ice maker is the canary, and it is warning you about the freezer.
If the compartment measures warm, stop working on the ice maker entirely. Go and work the freezer: setpoint, door seal, condenser, airflow, frost on the evaporator. When the freezer is right, the ice comes back on its own.
Stage two: water
Water arrives through a chain of its own, and any link can restrict it: house supply, whole-home or inline filter, shut-off valve, tubing, appliance filter, fill valve, fill tube.
The symptom pattern tells you a lot about where the restriction is.
| What you see | Where to look |
|---|---|
| No ice at all, mold bone dry | Supply valve closed, valve not energising, or line completely blocked |
| Small, hollow or misshapen cubes | Partial restriction - filters, deposit on the valve seat, low house pressure |
| Cubes fine but production very slow | Compartment temperature, not water |
| Water overflowing the mold, ice everywhere | Fill valve leaking by, or the fill interval is wrong |
| Fill tube capped with ice | Flow stopped at some point and what was left froze |
Two checks find most of it. First, if the appliance has a dispenser, dispense into a measuring jug and watch the stream - thin and slow is a restriction, and you have just localised the problem to the water side without opening anything. Second, find out when any whole-home filter was last changed. An expired cartridge upstream is invisible at the taps, where pressure is generous, and devastating at a small solenoid valve that only opens for a few seconds.
Stage three: mechanism
Only now.
Bin sensing. Every ice maker has to know when to stop, and there are two approaches. A mechanical shut-off arm rides on the ice and lifts as the bin fills; if it is up, jammed on a mound, or has been knocked off during a bin removal, production stops with everything else working. An infrared beam across the bin does the same job optically, and it is fooled by frost on the windows, a dirty lens, or anything parked in the beam. Both are frequent and both are free to correct.
Harvest. Mold-type ice makers need to release the cubes, either by warming the mold briefly or by twisting a flexible tray. If the mold is filmed with mineral deposit, or the heater has failed, cubes stick and the cycle stalls half-finished. That is the classic “there is ice in there but the bin is empty” presentation.
The fill tube. The small tube delivering water into the mold sits in a compartment held below freezing, and it stays clear because water passes through it regularly and, on many designs, because a small heater keeps it above freezing during fill. When flow drops to a dribble, or that heater quits, the tube caps over with ice and refilling stops permanently. Melting it out gets you a few days; the cause needs finding.
Undercounter ice machines are different. A dedicated ice machine freezes water on an evaporator plate or in a grid, sheds a full slab, and drains what did not freeze. It has a reservoir, a pump, and usually a drain, and the failure modes it adds are a clogged drain, a fouled reservoir, and a water pump that is not circulating. If your no-ice problem is on one of these, also check that the drain is not blocked and that nothing has been stacked against the front grille - these machines run nearly continuously and are the least tolerant of a restricted condenser of anything in the kitchen.
Installation decides more of an ice maker’s life than any part does
A standalone ice machine is the least forgiving appliance in a luxury kitchen, and most of what shortens its life was decided before it ever made a cube.
Ambient. Every machine is rated to operate within a stated ambient range, and production falls off sharply at the top of it. A unit in a hot butler’s pantry, in a garage, or on a west-facing deck is being asked to reject heat into air that is already warm. What you get is long cycles, thin harvests and a compressor that never rests. If the machine lives outdoors it also has to be an outdoor-rated model - sealed control housing, corrosion-resistant fasteners and cabinet, a compartment designed to be washed down. An indoor unit installed outside performs perfectly in March and then fails in July, and that is a specification problem rather than a fault.
Ventilation. Undercounter refrigeration and ice equipment breathes through the front grille, not out of the back. A decorative kickplate, a panel scribed across the toe area, or a surround built tight to the cabinet closes that path off, and the machine starts recirculating its own exhaust. The symptom looks like a refrigeration fault and no component change will fix it.
Electrical. These machines want a dedicated circuit. Sharing one with a disposal, a blender outlet or an outdoor receptacle that also carries a pump produces a machine that appears to switch itself off, and outdoor receptacles carry GFCI protection that trips on a marginal compressor start long before anything is genuinely broken.
Water and drain. The supply needs a shut-off somebody can actually reach without pulling the cabinet, and the tubing has to be routed so it is not pinched behind the unit. Most undercounter ice equipment relies on a gravity drain, so a line that has sagged, blocked, or been re-run uphill during a remodel leaves the bin unable to clear and the harvest cycle stalling.
None of that is a part, and all of it is why two identical machines in two houses have completely different service histories.
Things not to do
Do not pour hot water on a frozen assembly. Do not chip at ice with a screwdriver or a knife. Do not run a hair dryer inside a freezer compartment on a high heat setting near plastic. Do not force a shut-off arm past resistance. Do not replace an ice maker assembly before the compartment temperature and the water supply have both been measured - it is the most commonly replaced part that was never at fault.
When to call
Call if the compartment will not hold 5 degrees F or colder, if the fill tube keeps freezing after a proper defrost, if the assembly keeps forming a block of ice, if water is leaking anywhere near the unit, if an undercounter machine is not draining, or if the display is showing a fault code. Leave the code on screen - the stored history is often what turns two visits into one.
We are an independent appliance repair company based in Fruit Cove, covering St. Johns, Duval and Clay counties. Diagnostic is a flat $129, credited toward the repair when you approve the work. Sealed system work on refrigeration requires EPA Section 608 certification, which our technicians hold. Call +1 (904) 977-8701, Monday to Friday 8am-6pm, Saturday 9am-4pm.
Step by step
- 01
Allow 24 hours if anything at all has changed
A new installation, a power outage, a tripped breaker, a unit that was emptied and switched off, or a freezer that was recently defrosted all reset the clock. The compartment must reach temperature before a harvest cycle will run. Judging an ice maker four hours after any of those tells you nothing useful.
- 02
Confirm the ice maker is switched on and no mode is holding it off
Depending on the design the control is a menu item on the display, a rocker switch on the ice maker itself, or a wire arm. Check all of them. Vacation, Sabbath, demo and showroom modes will also suspend ice production while the appliance otherwise behaves completely normally, and a mode left on after a service visit is a genuinely common finding.
- 03
Measure the compartment temperature with a thermometer
This is the check that decides everything after it. Put a probe thermometer in the freezer or the ice compartment and read it after 15 minutes. Ice production generally needs 5 degrees F or colder, with 0 degrees F the usual setpoint. A freezer sitting at 10 degrees F will keep food rock solid and produce no ice whatsoever.
- 04
Check the bin sensing - arm or beam
A mechanical shut-off arm must be down. If it is up, resting on a mound of ice, or has been knocked off entirely, the ice maker believes the bin is full and stops. Units that use an infrared beam across the bin instead need the emitter and receiver windows clean - a smear of frost or a bag of frozen peas parked in the beam does the same thing.
- 05
Verify water is actually arriving
Confirm the shut-off valve behind or below the unit is fully open. Change or reseat the appliance water filter. Then check any whole-home or inline filter in the house - an expired cartridge upstream quietly strangles the appliance long before anyone notices it at a tap. If the unit has a dispenser, dispense a cup and time it; a thin, slow stream is your answer.
- 06
Clean the condenser
A restricted condenser raises compartment temperature by just enough to stop harvest cycles while food still looks fine. Vacuum the fins, brush along the direction of the fins, vacuum again. On undercounter ice machines and integrated columns the condenser is behind the lower grille, and that grille must not be blocked by cabinetry, a rug, or stored boxes.
Switch the appliance off at its control or at the breaker before putting a brush near a condenser fan blade.
- 07
Look for a jam and a frozen fill tube
Clear any ice wedged in the mold or under the ejector arm. Then look at the small tube that delivers water into the mold. If it is capped with ice, water stopped arriving at some point and froze what was left behind. That is a repair rather than a cleaning, and the underlying cause is still there once you melt it.
- 08
Defrost properly if the assembly is iced solid
Empty the compartment, switch the unit off, prop the door open, and let everything come to room temperature and dry completely. Do not pour hot water on it and do not chip at it. Hot water refreezes somewhere less convenient and can reach electrical connections; anything rigid damages the mold or the tubing. Then restart and allow 24 hours.
Questions this raises
How cold does the compartment need to be before ice production starts?
As a general rule, at or below 5 degrees F, with 0 degrees F the normal setpoint on built-in refrigeration. Dedicated undercounter ice machines work differently because they freeze water on an evaporator plate rather than in a mold, but for any ice maker living inside a freezer compartment, temperature is the gate. This is why an empty ice bin is so often the first visible symptom of a refrigerator problem that has nothing to do with the ice maker.
Why are my cubes small, hollow or misshapen?
That pattern points at water volume rather than at freezing. The fill valve opens for a fixed interval and meters a fixed volume into the mold, so anything restricting flow underfills it - a spent appliance filter, an expired whole-home filter, a partly closed supply valve, or mineral deposit narrowing the valve seat. If the compartment temperature checks out and the cubes are undersized, work the water side, not the ice maker.
How long should it take to fill an empty bin?
Longer than most people expect. An ice maker built into a refrigerator is a modest producer by design, and filling an empty bin can take a day or two of normal operation. A dedicated undercounter ice machine is a completely different appliance rated in pounds per day, and judging a refrigerator ice maker against one is the most common false alarm we are called out for.
Does an undercounter ice machine need its own circuit?
Yes, and it is worth checking. These machines run a freeze and harvest cycle almost continuously, so a shared circuit shows up as an appliance that appears to switch itself off. On an outdoor installation the receptacle also carries required GFCI protection, which will trip on a marginal compressor start long before anything has actually failed.
Why does the ice taste or smell bad when the unit works fine?
Ice absorbs odour from the compartment because it spends days sitting in it with a very large surface area. Strong-smelling food stored uncovered, a bin that has never been washed, and old ice that has slowly sublimated and refrozen are the usual causes. Empty the bin, wash it in warm soapy water, dry it completely, and discard the first two or three harvests after any repair or filter change.
Does the filter need changing if the water still tastes fine?
Yes. Taste is the last thing to go. What matters for ice is flow: a spent cartridge restricts it, and restricted flow at a fill valve is exactly what produces small and hollow cubes. Change it on the manufacturer's interval regardless of how the water tastes, and remember any whole-home or inline cartridge upstream, which is invisible at the taps and devastating at a solenoid valve that only opens for a few seconds.
If you would rather not